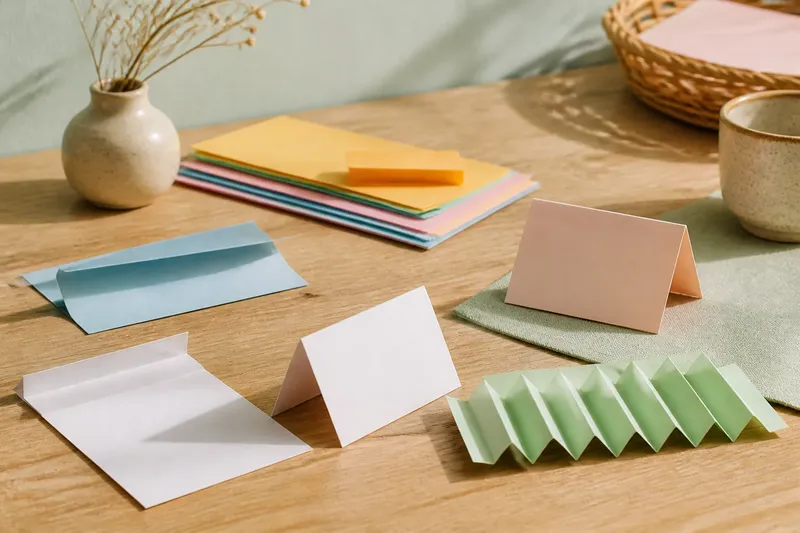
The Scrap-Sorting Trap: When Saving Every Offcut Gets in the Way
Scrap sorting can preserve useful paper without burying your worktable. Choose a small stash, project reserve, or clean sweep that makes the next project easier to start.
The common scrap-sorting mistake is keeping every offcut because it might be useful someday. Soon, the trimmings crowd out the scissors, hide the piece you are working on, and turn a quick creative session into a filing job. Scrap sorting works better when you decide what deserves space before you start saving.
There is no single right stash size. A small, ready-to-use supply suits frequent makers; a project-specific reserve suits people with a clear next use; and a clean sweep suits anyone who would rather begin with a clear surface. The useful question is not whether a scrap could be used. It is whether you are likely to reach for it.
Choose a scrap-sorting approach that fits your worktable
Pick an approach based on how you actually make things, not on how resourceful you hope to be someday. A tidy stack is still clutter if you never use it. A handful of saved pieces can be a helpful shortcut when they suit the projects you enjoy.
Keep a small working stash
This suits makers who regularly use scraps for collage, labels, paper chains, handmade cards, or small decorative details. Keep only pieces that are easy to identify and handle: a useful color, an interesting printed pattern, sturdy cardstock, or a shape that fits a recurring project.
Give the stash a physical boundary. A small envelope, shallow tray, or section of a desk organizer can mark its limits. When the space fills, choose the pieces you are most likely to use and let the rest go. This prevents the collection from expanding simply because scraps arrived one at a time.
A working stash should be easy to browse. Keep different materials apart if mixing them makes the contents harder to use. Paper suitable for drawing is different from glossy packaging; storing them separately may help more than sorting every fragment by color.
Save scraps for a named project
A project-specific reserve suits someone with a particular idea who is not ready to finish it. Perhaps you are assembling a handmade card and want patterned strips, or planning a collage that needs a certain palette. Gather only pieces that serve that project, and put them with its other materials.
This makes the intended use visible. A strip in an envelope marked for a card project has a reason to stay; a similar strip in a general pile may simply go unnoticed. Once the project is finished or abandoned, review the reserve rather than automatically moving it into a permanent stash.
Be specific about what counts as a real project. “Something with paper someday” does not guide a decision. A definite idea lets you judge whether a scrap has the right color, shape, texture, or size.
Clear the surface after each session
A clean sweep suits makers who value an open table, work in a small space, or enjoy trying a different activity each time. Keep only the material needed for a current project. Recycle or discard leftovers without a clear next use, then put reusable tools back where they belong.
This is not a rejection of reuse. It is a choice to use materials you already have without creating another chore to manage them. If a project repeatedly needs scraps, you can set aside a small supply later. You do not have to preserve every possible option in advance.
A clear surface can also make it easier to return to a project. That may be more useful than keeping a large assortment of materials you rarely choose.
Set a boundary before the scraps spread
Choose the limit first: one envelope, one tray, or one clearly marked area of a drawer. The container is not a target to fill. It is a boundary that tells you when to select, use, or release material. If even a small container is inconvenient, use a project-specific reserve or clear the scraps entirely.
As you sort, check each piece for a specific use, usable condition, and fit with the projects you actually make. Let the result guide the decision:
- If a scrap fits a current project, put it with that project's materials; if it does not, consider it for the working stash or release it.
- If a scrap is clean and easy to handle, keep it only if it suits a recurring or named project; if it is damaged or awkward, recycle or discard it as appropriate.
- If a scrap is a material you use often, place it in the working stash; if you rarely use that material, do not save it just because it looks interesting.
- If several scraps serve the same purpose, keep the pieces you can identify and reach easily; if they make the container difficult to browse, release the least useful ones.
- If the container has room and its contents remain easy to browse, keep the selected scraps; if it is crowded, choose the pieces with clearer uses and let the rest go.
- If a scrap has a coating, adhesive, or mixed material, check local recycling guidance; if it is not accepted, use the appropriate waste option instead.
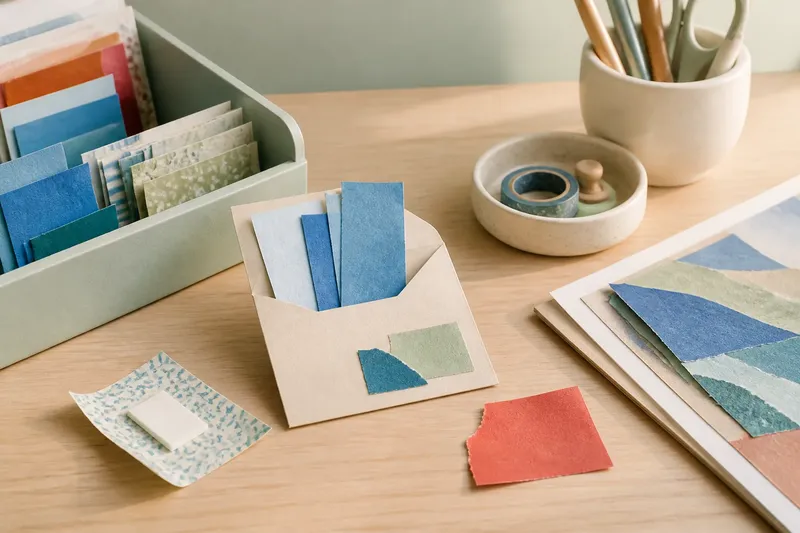
Imagine you have finished cutting colored paper for a collage. For this invented situation, suppose the remaining pieces are three narrow blue strips, a red square with a torn corner, and a patterned piece with a sticky label on the back. You are planning another collage in blue and green. First, set out an envelope for that named project. Next, place the blue strips inside because their color suits the plan and they are easy to use. Leave the torn red square out because it does not fit the palette and its damaged edge adds little. Check local guidance for the labeled patterned piece; if its adhesive means it cannot go in paper recycling, use the appropriate waste option. The resulting reserve is small and tied to the next project, while the table is clear enough to work on.
Keep materials in a condition you can use. A torn corner, adhesive backing, or awkward shape may make a scrap less helpful than it first appears. You do not need to inspect every piece with a ruler or devise an elaborate system; a quick look is enough to decide whether it belongs in the space you chose.
Which scrap-sorting questions help settle the choice?
How do I decide which paper scraps to keep?
Keep scraps that suit a project you make, a named project you intend to finish, or a limited working stash you will browse. Let go of pieces that are damaged, hard to identify, or saved only because they might have an unknown use.
What is the best container for a small scrap stash?
Choose a container that fits your boundary and lets you see or reach the contents. An envelope works for a small, flat selection; a shallow tray can make different pieces easier to browse.
Should I sort scraps by color or material?
Sort only when the distinction helps you choose and use a piece. If a color divider or separate envelope saves effort, use it; if sorting takes longer than finding a scrap, keep the stash simple.
What should I do with scraps I do not keep?
Use the recycling option accepted where you live when the material is suitable, and place unsuitable pieces in the appropriate waste stream. Coatings, adhesives, and mixed materials may be handled differently, so check local guidance where needed.
Use the simplest system you will maintain
A small working stash suits a recurring paper habit. A project-specific reserve suits a clear plan with a definite end. A clean sweep suits a maker who would rather reclaim the surface than store possibilities. If two approaches seem equally good, choose the one that makes your next creative session easiest to start.
For scrap sorting, the goal is not to rescue the greatest number of offcuts. It is to keep the few pieces that make useful work easier without making the worktable harder to use. Trimming every scrap into perfect rectangles, labeling tiny categories, or building a filing system for pieces you rarely touch is not worth the effort. Save what fits your space and your work, then clear the rest.